How to Set Up a Prebuilt PC
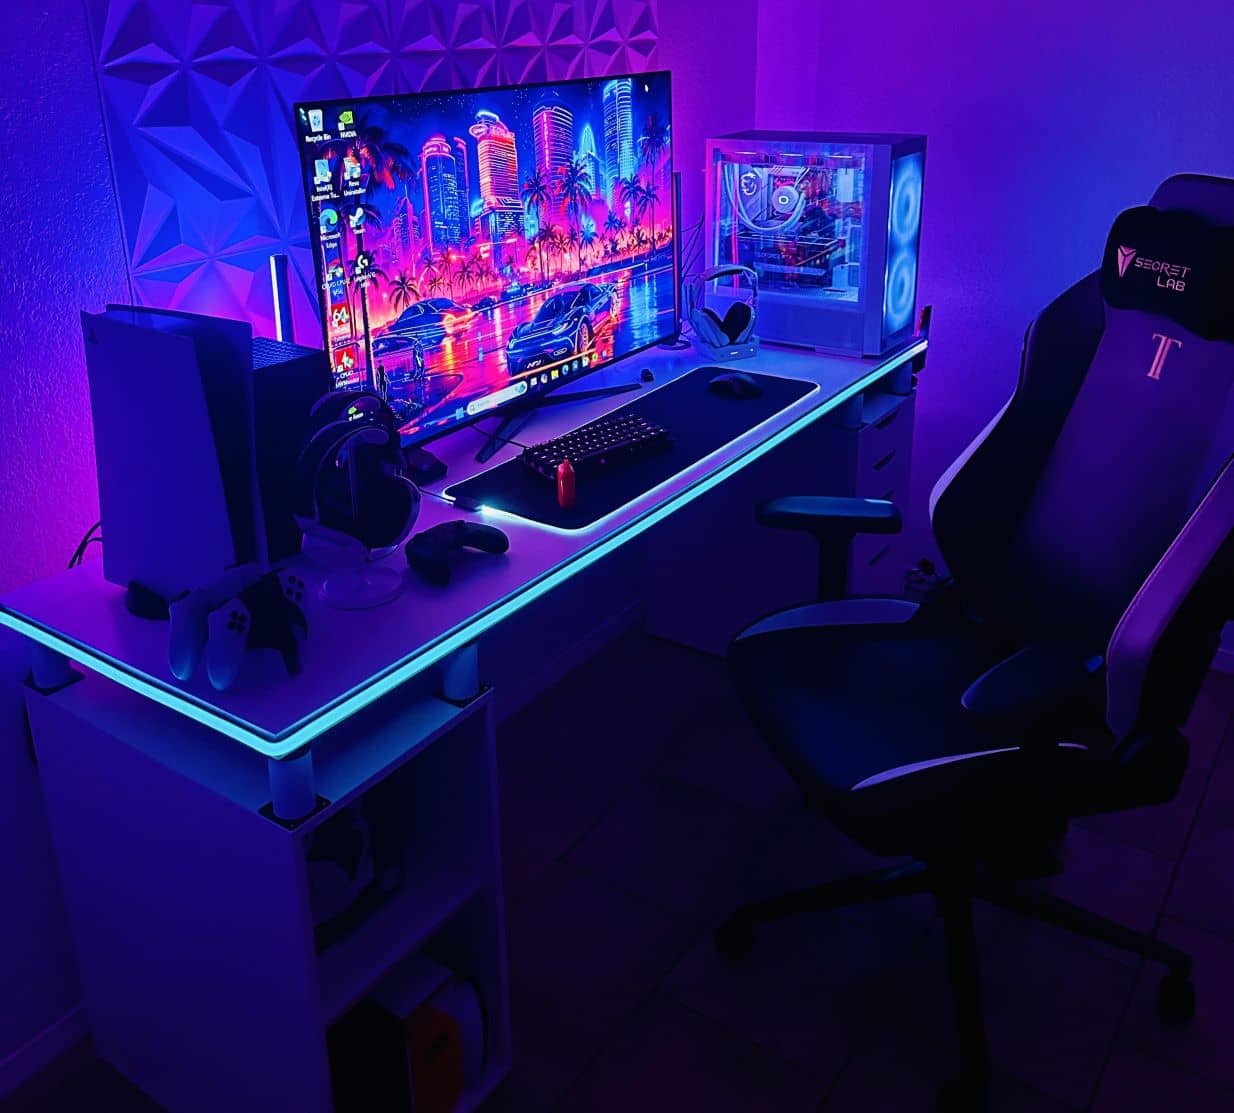
So the day has finally come. The computer you’ve been aching to buy is arriving today. Do you even know how to set up a prebuilt PC? It’s dragged into your den or office, but you’re left scratching your chin. Take heart, we’ll show you the very best way to get your newly unboxed computer up and running.
First off, there’s a few details to take care of before that box is opened, so put down the box cutter and scissors. Clear a space for the boxy case, making sure the fans will have enough space to carry out their CPU and GPU cooling duties. Remember, airflow is an essential consideration, especially when a modern computer’s fans are maxed out. Restricted airflow is bad news for hard working PCs.
Wireless connectivity is good, but a wired internet is best when gaming or sending huge files. Keep the router nearby. Next, connect a powerstrip with a decent surge protector; it’ll provide protection against electrical spikes. Check and double check, outlets and online ethernet connectivity within easy reach, that’s the sweet spot for a seamless PC setup. Let the unboxing party commence.
Golden tips for trouble-free prebuilt PC installing:
- Leave enough room for case fans, for airflow cooling.
- Don’t put the PC on the ground, where it can suck up vent-clogging carpet dust.
- Prep for success, keep the router and surge protector powerstrip close.
- Reserve a few minutes for cable management. Tidy wires are safe wires.
- Use a desk with ample space reserved for the monitor and keyboard.
- Connect peripherals to compatible ports.
Stick with these tips, plug in your prebuilt PC, and the monitor, to a surge protector power strip, and skip on down to the bulk of the guide below.
Connecting PC Peripherals
Know your ports. Know the difference between a slow USB 2.0 and a fast USB 3.0 port. Their squared-off 9-pin profiles look the same, after all. Designed to be backward compatible, this design choice has been made with purpose, but it can confuse users who are looking for the simplest guide on how to set up a prebuilt PC.
Assuming some exotic form of DisplayPort technology isn’t being used—more common in gaming monitors like the Asus ROG Swift—most modern monitors connect just like a cable does on a flatscreen TV. An HDMI port, a slender D-shaped connector is located on a rear panel. This rear computer panel hosts all of the PC connectors, keeping them conveniently grouped. Plug in the monitor to the HDMI port. Plug in the monitor power cable to your powerstrip, and power ON the monitor.
Note: Selecting a PC monitor is a whole other matter. Again, just like a flatscreen TV, it’ll have specific features, such as a 4K resolution and a high refresh rate. For a hassle-free monitor match, ensure it matches the capabilities of your new computer’s GPU. Features discerning system owners look for include wide viewing angles, special aspect ratios, wide color gamuts, and HDR ready displays.
After the monitor, the two peripherals you’ll be shopping for are the keyboard and mouse. For those who, still stuck in their old-fashioned ways, want a wired machine interacting experience, consider the Logitech MK120 Wired duo. If only wireless connectivity will do, leapfrog over the wired options and go straight for something dependable like the Logitech MK270 wireless keyboard and mouse. Either way, a free USB port will be needed to hook up these two peripherals.
Desirable features here include a compact wireless dongle, a keyboard with reliable action and extra function keys, and a mouse with an ergonomic design. As before, we could spin off into a whole other post, one that describes wireless range and button customizations, flashy keyboard illuminations and battery lifespans.
There’s one last peripheral our review team decided to include. It’s not a printer, nor a webcam. No, this last boxed item is a set of speakers. They’ll plug into another spare USB connector. Speakers can be as simple as basic stereo, perhaps for a video conference call, or as intricate—and expensive—as an immersive full 5.1 surround system.
The latter option would be perfect for gaming, by the way, or for a movie on a PC built to function as a relatively inexpensive home entertainment system.
First Time Power Up Guide
Note: After unpacking, but before placing the case on its new roost, check for damage incurred during shipping. That’s assuming you found a great online deal and didn’t go for instant gratification by driving down to a local big electronics store, of course.
So the prebuilt PC you’ve recently purchased was shipped. Component breaking dings have been known to put a damper on that much anticipated turn-on moment, with some ugly scar marring the occasion. Call the retailer and get a merchandise return number if there’s shipping damage.
If the shipping company has nailed it—as they do most times—now is when one big question hits the hardest. Just how do you set up a prebuilt PC? That’s the issue lodged in the buyer’s mind. A short mental list has been checked off. Check, it’s scratch-free and undamaged. It’s been placed on a dust-free stand or a provided compartment, with power plugged in, internet connected, and the ON button illuminated. Basic peripherals are hooked up. Press the button. In response to this button push, lights flash, fans hum, and the monitor display kicks into life. If the monitor doesn’t immediately respond, check to see whether it’s properly connected to the PC. A little switch on the rear of the panel might need to be turned ON as well.
Meet Your Operating System
New PC owner, meet your OS, please. Operating system, say hello to your new byte boss. Seeing as how this is a Personal Computer (PC), the operating system is likely a preloaded version of Windows 11. For more adventurous users, they live on the edge, deleting Windows. They install a flavor of Linux, an OS that can be as simple as Microsoft’s offering, but it can also be as difficult to wield as an advanced computer language at times, requiring command line level interactions
If our reader is asking how to set up a prebuilt PC, then it’s probably best that they stick with the preinstalled Windows 11 OS. Now, with the computer on and its fans humming, a series of questions will be asked on the monitor. Windows wants get to know its user. This means setting up such common settings as keyboard language and regional configurations, plus more personal queries, like user accounts, emails, passwords, etc.
Breaking it down, here’s our computer savvy review team’s own experience when we got to grips with our latest office Windows machine.
Step One – Turn on the PC and let it run through its Power-On Self Test (POST) routine. The motherboard is running through a few automatic diagnostics, testing memory, CPU and storage, issuing a few beeps and flickering lights as the test concludes. It takes a few seconds, so wait for this to finish. Next, the boot loader pulls up the installed operating system. In this case, we’re talking about a virgin new edition of Windows 11.
After a suspiciously cheerful ‘Hi There’ greeting pops up on the monitor, region settings come first. Windows wants to know where users live so that it can talk to them in their language. From English to Vietnamese, Russian to French, even a few obscure dialects, too, Windows can talk to everyone. To do so, though, its cosmopolitan linguistic skills require user input. Select the correct language. Intuitive system tailoring screens do the rest, taking the user by the hand, guiding them through maps and time zones, setting up their region and their language.
Step Two – Things get a little more personal now, so have an email and password in mind, then write down the user name and password for your wireless connection, too. For the user, a ‘Microsoft User Account’ is suggested, although what’s known as a ‘Local Account’ works as well. The latter suggestion is limited by offline accessibility, whereas MS User Accounts are tied to other services, like OneDrive and Xbox. If a change is made on this account, it’ll sync with these other services. Local Accounts don’t have this syncing feature.
Usernames and passwords are required to get back into the OS. Microsoft, being keen observers of human nature, though, have added other ways to quickly get into the system, securely and privately. Initially, a four digit PIN is offered. Afterwards, with full access to the operating system, there are options to use biometrics-based access. This can be done via ‘Windows Hello,’ a feature that uses facial recognition or fingerprints to personalize the sign in process. Note: Windows Hello can only be used if the computer has a compatible webcam or fingerprint reader.
Step Three – Approaching the end of the user entry section of the how to set up a prebuilt PC process, Windows wants to get online. Not to watch influencer TikToks or learn how to play guitar by watching YouTube videos, Windows is a far more practical creature. The operating system memorizes your wireless credentials so that system updates and patches can be downloaded and applied. The OS also starts examining PC hardware at this point. System drivers are installed now, allowing Windows to recognize machine components and manage them.
It’s a slow but sure process. Since different motherboard manufacturers put together their Intel and AMD components in different ways, Windows has a lot of work to do before it wraps up and welcomes you to the Microsoft family. The monitor is part of the setup procedure, as is the mouse and keyboard. Memory, CPU and GPU, all of these under-the-hood electronics circuits need configuring. Don’t panic, all of this is automatically taken care of by Windows during setup.
The last couple of questions were easily managed by filling in a few checkboxes. Our reviewers already have copies of their favorite office suites installed, so a Microsoft 365 subscription wasn’t needed. We opted-in for OneDrive, Xbox setup and location-based services. We game and don’t have any concerns with privacy, but users do have the choice to opt out and protect privacy.
Step Four – The operating system will restart several times as these choices are selected and locked in. If the PC is equipped with an SSD (Solid State Drive), the process will be rapid. With a regular HDD (Hard Drive), expect things to take a little longer. Files are copied, updates and patches downloaded, and new features activated. Afterwards, a Welcome screen tells the impatient user that a few last details are being processed in the background, before fading away to reveal the Windows interface.
Windows asks the user whether this computer will be used for gaming or creativity, work or productivity, etc. We chose creativity and gaming, as our machine has an nVidia 4070 GPU. From here, drivers and updates are still being downloaded in the background. There may even be a new and improved version of Windows 11 in the wings, waiting to be installed, freshly improved by new AI features. Copilot is the name of the most obvious change, with its server-connected chat and image creating functions adding a whole new way of interacting with the OS.
Here’s a quick rundown on what we accomplished in one short afternoon, not including our short break for coffee and snacks. Essentially, this is our shorthand guide, showing those who’re interested how to set up a prebuilt PC.
- Desk area cleanup and powerstrip/router location planning.
- Computer unboxing. Bring a box cutter.
- Plug in the case power supply and monitor.
- Locate and connect all peripherals.
- Turn on the case power supply and monitor.
- Power ON the computer.
- Follow the above steps to personalize Windows and enter a user name, password, PIN, etc.
Before the fun part, before installing office applications and a few games, too, let’s talk about set up finalization.
The Lowdown on OS Finalization
Windows 11 is a close ally of those who regard themselves as computer novices. If all peripherals are connected and powered on, perhaps including an office printer, then the OS will do its very best to download the appropriate drivers. Oftentimes, however, these are plain vanilla versions, lacking features and functions. We correct this shortcoming by going to device manufacturer websites and locating their support pages and drivers section.
It’s simple enough from here. Enter the device name or its serial number, tell the webpage what operating system—Windows 10 or 11 are common—is running on the computer, then download the corresponding driver. Printers benefit greatly from this additional step, adding such features as duplex printing and photo paper settings. Seeing as how we have that nVidia GPU slotted into the computer, turbocharging our gaming, we also downloaded the latest nVidia drivers.
Tip: Right-click your mouse over the Windows logo and highlight ‘Device Manager’ to see whether the system is lacking a driver. A little yellow triangle with an exclamation mark inside indicates something is amiss.
Depending on the manufacturer, this final section in our how to set up a prebuilt PC guide can be significantly accelerated. Some Driver and Manual support pages on computer manufacturer websites allow users to download tiny driver managing programs. These little software packages install in Windows and seek out outdated or missing drivers, installing them and updating them as needed. You do nothing, the software operates silently in the background. Of course, it doesn’t do any harm to run the program sometimes, perhaps once a month, to see if an update has slipped past.
Hitting the Set Up Home Stretch
Prebuilt computers are game-changers for users who want to get up and running fast. If you’ve ever built a PC yourself and installed Windows from scratch, you know the truth of that statement. One of our staffers is a keen gamer, but he swore off home builds after spending a day stuck on a SSD recognition error. It was a whole thing, with the motherboard not recognizing the solid state drive due to driver incompatibilities. Finally, he had to put an extra folder in the USB stick along with the Windows files and ‘instruct’ the installation on where the driver was located.
The point is, you don’t have to experience headache-inducing roadblocks like he experienced. Buy a computer from an established online brand or drive down to a big box store and pick one out, then have its fans purring along that same day while you play Red Dead Redemption 2 or Cyberpunk 2077. Let Windows take on the installing and configuring burden, but take over yourself at some point, installing dedicated drivers and the latest nVidia updates. That same tip applies to AMD fans and Intel users with integrated graphics, by the way. Just don’t stick with generic drivers when there’s a fully featured manufacturer driver available.
One final piece of advice: don’t lose your cool if the computer doesn’t immediately work after you’ve completed our how to set up a prebuilt PC guide. Talk to customer services or the electronics store tech guys. They’ll help you out with what could be a very simple fix. For example, delivered PCs sometimes have unseated cards. Slot them in fully, and the machine roars—with a wild beep—to life. And do install some kind of malware protection; there are cyber threats out there, online criminals who would be only too happy to mess with your precious new prebuilt PC. Secure it.
